

Celebrate the cooler temperatures by knitting this quick, lightweight beanie or get a head start on handmade Christmas gifts.
I love fall–the beautiful colors of changing leaves, the promise of sweater weather after a sweltering summer, and the overall feeling of coziness. So how about curling up with a good audiobook, grab your needles, and whip out a cozy hat in no time! Fluffy blanket and tea also recommended. 🙂
MATERIALS:
- Yarn: 175 yards of a light worsted weight yarn or heavy dk weight yarn
- Knitting Needles:
- #8 (5mm) circular knitting needles, 12 inch cable length.
- #8 (5mm) dpns for crown decreases, set of 4 or 5.
- Alternately, dpns may be used for the entire hat.
- Stitch marker to denote the beginning of the round.
- 6 stitch markers to help with crown decreases.
- Scissors and yarn needle for weaving in ends.
Amazon Affiliate Disclaimer: As an Amazon Associate I earn from qualifying purchases. If you choose to purchase an item through one of my Amazon affiliate links (denoted as “paid link”), you will not pay any extra, but I may receive a small commission which helps me continue to provide content.
SKILL LEVEL: Advanced beginner.
GAUGE: Not vital to the pattern but given for reference.
In slip st rib pattern knit in the round:
16 st per 4 inches = 4 st per 1 inch
36 rounds per 4 inches = 9 rounds per 1 inch
SIZING & FIT: ONE SIZE, TWEEN TO ADULT:
- Stretches to fit head circumferences 20” (tween) to 24” plus (adult). The model in the pictures has a 23.75” head circumference. It fits more like a beanie on larger head sizes and slouchier on smaller head sizes.
- The finished length is 8”, but it can be made longer if desired.
NOTES:
- The yarn and pattern combination makes a lightweight, stretchy hat, compatible with a range of sizes.
- Adjustments are given if a longer hat is desired.
- The Yarn Bee Warm & Cozy is a lightweight #4. If you use a heavier aran weight, the hat will fit slouchier.
- The hat begins with a section of 1×1 ribbing and then moves into 2 alternating stitch patterns, before ending with the crown decreases.
ABBREVIATIONS & SPECIAL STITCHES:
- st = stitch
- Asterisks *…* denote the stitches that need to be repeated throughout the row.
- rpt = repeat
- Cast on
- k = knit
- p = purl
- slpwyib = slip purl-wise with yarn in back (See FIGURE A below.)
- k2tog = knit 2 stitches together
- ssk = slip slip knit (See FIGURE B below.)
- Bind off


BEGIN PATTERN:
- Cast on 84 st using the long tail cast on or your preferred method.
- The pattern multiple is 12.
- Join to work in the round, being careful not to twist your work. Place a marker to denote the beginning of the round.
RIBBING:
- Round 1: *k1, p1*, rpt to the end of the round.
- Rounds 2-10: Repeat Round 1 for a total of 10 rounds of ribbing.
- Or, you may continue repeating Round 1 to add more length to the ribbing if you would like.
GARTER SLIP STITCH RIB SECTION I:
- Round 11: *slpwyib 1, k3*, rpt to the end of the round.
- Round 12: *k1, p3*, rpt to the end of the round.
- Rounds 13-28: Repeat Rounds 11 & 12 for a total of 18 rounds of garter slip stitch rib. (TIP: To tell how many rounds you have worked, count up the number of slipped stitches–you should have 9 or half the number of your worked rounds.)
- Or, you may repeat Rounds 11 & 12 as many times as you would like. Make sure to end on a Round 12.
WELT SECTION I:
- Round 29: Knit all stitches.
- Round 30: Purl all stitches.
- Round 31: Purl all stitches.
- Rounds 32-34: Repeat Rounds 29-31.
GARTER SLIP STITCH RIB SECTION II: Repeat Garter Slip Stitch Rib Section I.
- Round 35: *slpwyib 1, k3*, rpt to the end of the round.
- Round 36: *k1, p3*, rpt to the end of the round.
- Rounds 37-52: Repeat Rounds 35 & 36 for a total of 18 rounds of garter slip stitch rib.
- Or, repeat Rounds 35-36 the same number as you worked in Section I.
WELT SECTION II: Repeat Welt Section I:
- Round 53: Knit all stitches.
- Round 54: Purl all stitches.
- Round 55: Purl all stitches.
- Round 56: Knit all stitches.
- Round 57: Purl all stitches.
- Round 58: Purl all stitches. Insert a marker after every 12 stitches. This will make the decreases a lot easier. You should have 7 sections of 12 stitches each.
At this point, if you have knit your hat like mine, your hat will measure about 6.5 inches long.
CROWN DECREASES:
- Round 59: *k2tog, k to 2 st before marker, ssk, slip marker*, rpt to the end of the round (70 st).
- Round 60 and every even row following: Knit all stitches.
- Round 61: *k2tog, k to 2 st before marker, ssk, slip marker*, rpt to the end of the round (56 st).
- Round 62: Knit all stitches.
- Round 63: *k2tog, k to 2 st before marker, ssk, slip marker*, rpt to the end of the round (42 st).
- Round 64: Knit all stitches.
- Round 65: *k2tog, k to 2 st before marker, ssk, slip marker*, rpt to the end of the round (28 st).
- Round 66: Knit all stitches.
- Round 67: *k2tog, ssk, remove marker*, rpt to the end of the round (14 st).
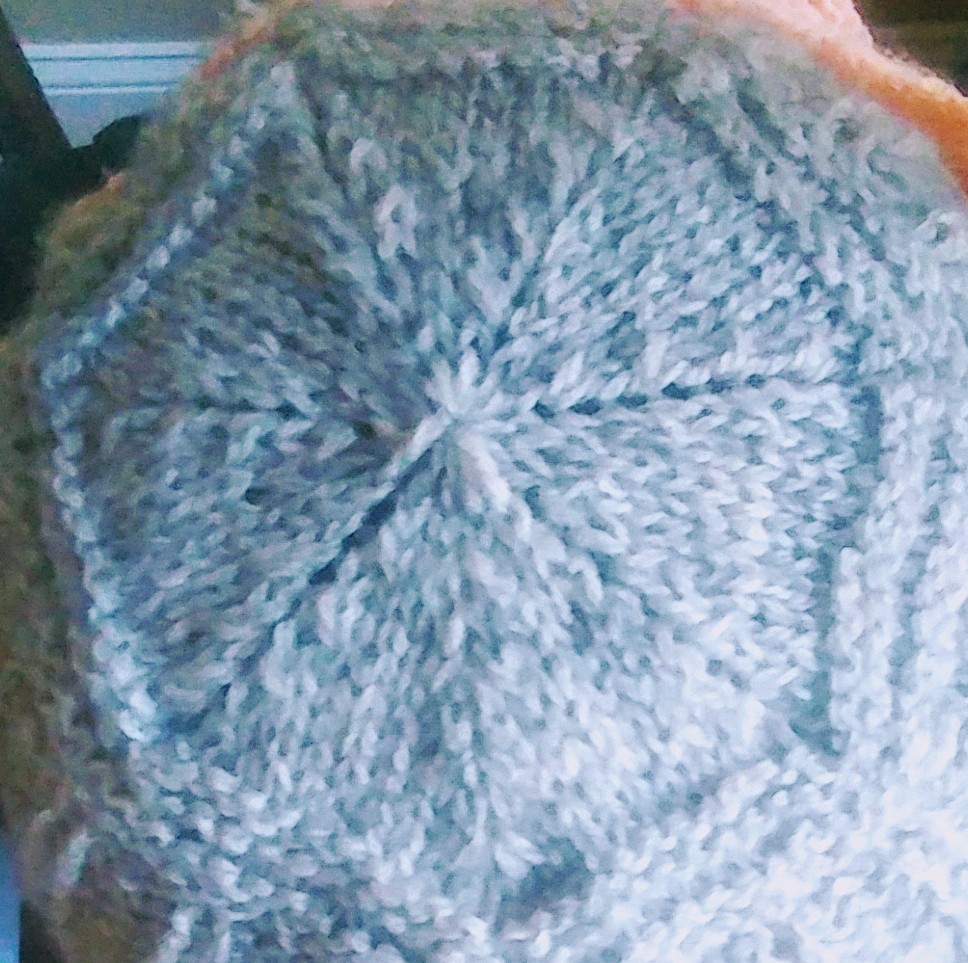
FINISHING:
- Cut a long tail of yarn and weave through the remaining stitches on the needles, pulling tightly and securing.
- Weave in ends and block if desired.
If you would like to purchase an inexpensive, ad-free downloadable pdf of this pattern, you can do so here in my Etsy shop.
As with all of my patterns, you are more than welcome to sell any finished item made with your personal copy of the pattern. Attribution to the pattern designer or a link to my website or Etsy is appreciated. 🙂 Please do not sell the pattern itself. Thank you.

Affiliate Disclaimer: Posts will at times link to yarns and materials I use in my patterns, reviews, and tutorials. Every review and recommendation will always be my honest opinion. If you choose to purchase an item through one of these links, you will not pay any extra, but I may receive a small commission which helps me continue to provide content. Thank you for your support.


